


There’s nothing quite like the taste of fresh, homemade butter, and with a butter maker, achieving that creamy perfection has never been more effortless. Whether you’re crafting classic butter from Cream or experimenting with herb- or cannabis-infused varieties, a buttermaker ensures consistent outcomes while streamlining the procedure. Use a spoon to carefully press out all of the liquid (buttermilk), reserving it for
Unlike traditional methods that require constant stirring and careful temperature control, modern magicalbutter machine are designed to do the hard work for you. With just the right balance of ingredients, heat, and timing, you can create smooth, flavorful butter that elevates your cooking, baking, or even wellness recipes.
In this guide, we’ll walk you through everything you need to know about using a mister butter from preparation and step-by-step instructions to expert tips for flawless results every time.
What is a Butter Maker?
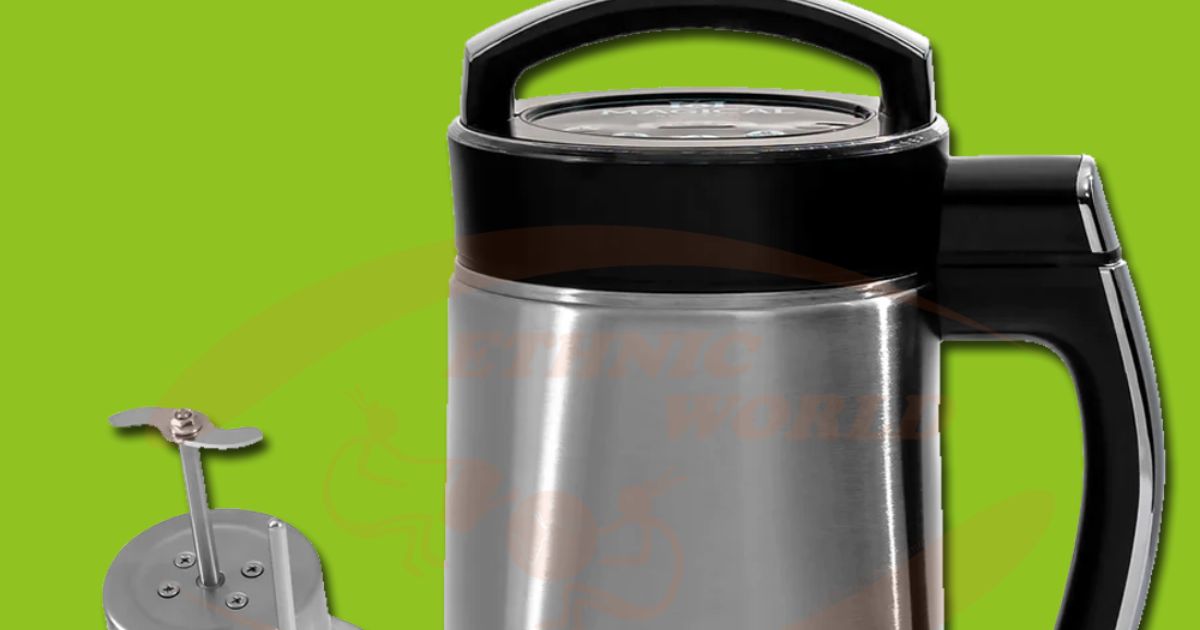
Before diving into the how-to, let’s clarify what a butter maker is. A butter maker is a specialized kitchen appliance designed to separate Cream into butter and buttermilk with minimal effort. Popular models include the Lēvo, Magical Butter Machine, and traditional churn-style makers like the Dazey Butter Churn. These devices automate the churning process, which traditionally involves shaking or stirring Cream vigorously until the fat globules clump together.
For cannabis users, cannabutter near often double as infusion devices, allowing you to infuse herbs, spices, A Beginner’s Guide To Cannabis Edibles: The Best Weed Edible Recipes or decarboxylated cannabis into butter or oils. The benefits include precise temperature control, even flavor distribution, and hands-off operation, making it ideal for busy home chefs.
Choosing the Right Butter Maker
Not all magic butter are created equal, so selecting the appropriate one is crucial for perfect results. Consider the following factors:
Capacity
- Small (1-2 cups): Great for personal use or small batches of infused butter.
- Medium (2-4 cups): Suitable for family-sized recipes or moderate infusions.
- Large (4+ cups): Ideal for entertaining or commercial-scale production.
Features
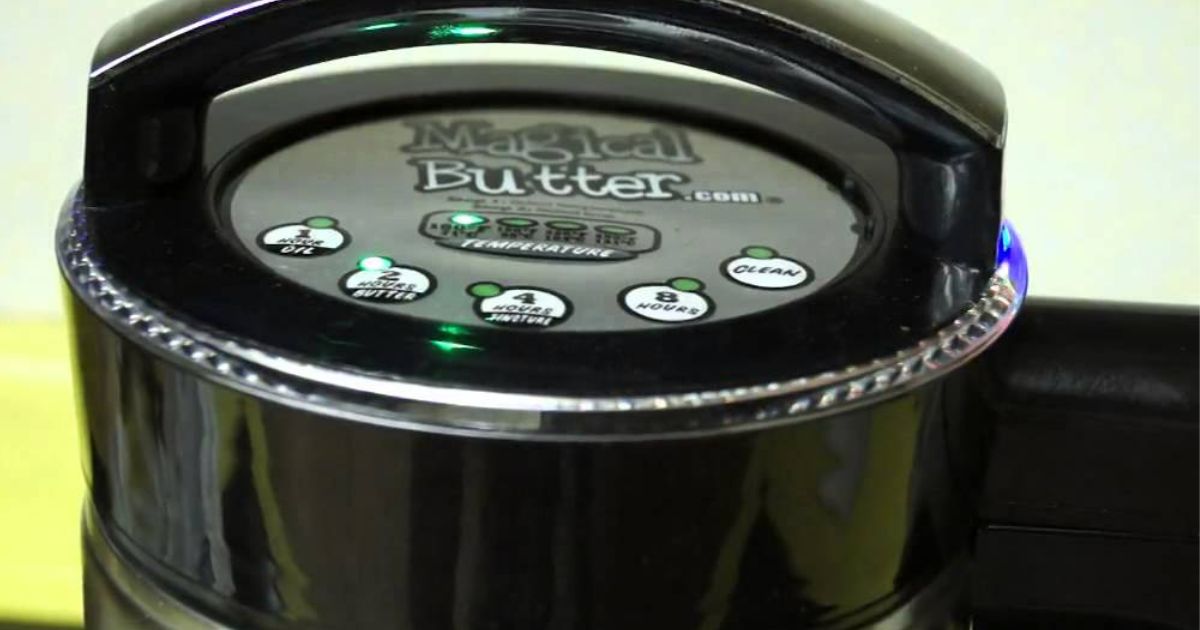
- Temperature Control: Essential for infusions to avoid degrading cannabinoids or burning flavors.
- Timer Settings: Allows for set-it-and-forget-it convenience.
- Blade System: Look for durable, stainless-steel blades that handle harsh ingredients without dulling.
- Ease of Cleaning: Dishwasher-safe parts or self-cleaning cycles save time and effort.
Type
- Electric Churners: Modern appliances like the Magical bud butter buddy that blend and heat simultaneously.
- Manual Churns: Traditional glass or wooden churns for a hands-on experience.
- Infusion-Specific: Devices like the Lēvo are optimized for herbal infusions.
Budget-friendly options start at around $20 for basic manual churns, while advanced electric models can cost $150-$300. Common Mistakes That Stop Buds from Flowering For perfect results, invest in a model with consistent heating elements to prevent scorching.
Preparing Your Ingredients
Success starts with quality ingredients. For plain bud butter machine, use heavy whipping cream with at least 35% fat content. Organic or grass-fed varieties yield the most decadent flavor. For infused butter, ensure your add-ins are adequately prepared.
For Plain Butter:
- 1 pint (2 cups) heavy Cream, chilled.
- A pinch of salt (optional, for salted butter).
For Cannabutter:
- 1-2 cups heavy Cream or unsalted butter base.
- 7-14 grams decarboxylated cannabis flower (adjust based on potency).
- Optional: Lecithin (1 tsp) to emulsify and amyron syrup uses in hindi enhance bioavailability.
Decarboxylation Tip: Always decarb your cannabis first by baking it at 240°F (115°C) for 30-40 minutes to activate THC/CBD. This step is non-negotiable for potent infusions.
Chill all tools and ingredients to 40°F (4°C) before starting this, which speeds up churning and results in firmer cannabis butter machine.
Step-by-Step Guide to Using a Butter Maker
Follow these steps for foolproof results. We’ll use a standard electric magicalbutter like the Magical Butter Machine as an example, but adapt it for your model.
Step 1: Assemble the Machine
- Place the pitcher on a stable, heat-resistant surface.
- Ensure the lid, blades, and power cord are securely attached.
- Plug in the device and verify it’s clean and dry.
Step 2: Add Ingredients
- Pour in your chilled heavy Cream (or melted butter base for infusions).
- For infusions, add decarboxylated cannabis or other herbs/spices.
- Include any emulsifiers, like lecithin, if using.
- Secure the lid tightly to prevent leaks.
Step 3: Set the Cycle
- Select the appropriate setting: For plain butter, use the “Butter” or “Churn” mode (typically 10-15 minutes at medium speed).
- For infusions, choose “Infuse” mode (1-8 hours at 160-190°F / 71-88°C for cannabis).
- Start the machine. You’ll hear the blades whirring as it agitates the mixture.
Step 4: Monitor the Process
- Check periodically for the first few minutes to ensure even mixing.
- The Cream will transition from liquid to whipped, The Ultimate Guide to Pot Chocolate Bars then to grainy (where butterfat separates), and finally to solid butter clumps floating in buttermilk.
- Avoid over-churning, which can make magica butter machine tough; most machines have an auto-stop feature.
Step 5: Strain and Separate
- Once the cycle ends, pour the mixture through a fine-mesh strainer or cheesecloth into a bowl.
- Use a spoon to carefully press out all of the liquid (buttermilk) for baking!
- Rinse the mr butter machine curds under cold water, kneading to remove residual buttermilk. This prevents spoilage.
Step 6: Shape and Store
- Knead in salt or flavors if desired.
- Form into logs or balls using parchment paper.
- Refrigerate for 1-2 hours to firm up, Magic Butter Machine: or freeze for up to 6 months.
Total time: 20-30 minutes active, plus infusion time if applicable. Yield: About 1 pound of butter per pint of Cream.
Tips for Perfect Results
Achieving butter that’s smooth, flavorful, and potent requires attention to detail. Here are expert tips:
Temperature Mastery
- Keep everything cold initially to promote quick separation.
- For infusions, maintain 160-180°F (71-82°C) to preserve terpenes without boiling off cannabinoids.
Ingredient Ratios
- For moderate potency, use a weight-to-cannabis ratio of 1:1. (e.g., 7g of flower per cup of butter).
- Test small batches to dial in strength. Start low and go slow.
Enhancing Flavor
- Add vanilla beans, garlic, or herbs during infusion for gourmet twists.
- Incorporate sea salt flakes post-churning for texture.
Efficiency Hacks
- Pre-measure ingredients in silicone molds for easy cleanup.
- Use the machine’s immersion blender attachment for stubborn mixtures.
Common Mistakes to Avoid
- Overheating: Leads to bitter, degraded butter. Always use low-heat settings.
- Skipping Decarb: Results in inactive infusions always bake first.
- Poor Straining: Leaves gritty residue; abhayarishta uses in marathi invest in nut milk bags for silkiness.
- Ignoring Cleanliness: Residue buildup affects future batches, so clean them immediately after use.
Cleaning and Maintenance
Proper care extends the life of your butter maker and ensures hygienic results.
Immediate Post-Use Cleaning
- Fill the pitcher with hot soapy water and run a short cycle (2-3 minutes) to loosen debris.
- Rinse blades and lid under running water.
- For stubborn residue, soak in a 1:1 vinegar-water solution.
Deep Cleaning
- Disassemble removable parts and wash with mild dish soap.
- Never immerse the base; instead, wipe it with a moist cloth.
- For infusion models, descale monthly with citric acid if hard water is an issue.
Storage
- Air-dry completely before storing in a cool, dry place.
- Cover openings to prevent dust.
Follow manufacturer guidelines to avoid voiding warranties. Most electric models are low-maintenance and come with 1-year coverage.
Creative Recipes Using Your Homemade Butter
Your fresh marijuana butter machine creation isn’t just for toast. Get inspired!
Classic Cannabutter Brownies
- Ingredients: 1/2 cup cannabutter, 1 cup sugar, 2 eggs, 1/3 cup cocoa, 1/2 cup flour.
- Method: Melt butter with sugar, mix in eggs and dry ingredients. Bake at 350°F for 20 minutes. Serves 9; dose accordingly.
Garlic Herb Compound Butter
- Ingredients: 1 cup plain butter, 4 minced garlic cloves, 2 tbsp fresh herbs, zest of 1 lemon.
- Method: Soften and mix by hand. Banana Jealousy Strain: Flavor Effects and Growing Tips Roll into logs and chill. Perfect for steaks or bread.
Savory Shortbread Cookies
- Ingredients: 2 cups flour, 1 cup salted butter, 1/2 cup parmesan, 1 tsp rosemary.
- Method: Combine into dough, slice, and bake at 325°F for 15 minutes. A sophisticated snack.
Experiment responsibly, especially with infusions, label potency, and store safely.
Troubleshooting Common Issues
Even pros encounter hiccups. Here’s how to fix them:
|
Issue |
Cause |
Solution |
|---|---|---|
|
Butter won’t separate |
Cream too cold or low-fat |
Warm slightly to room temp; use higher-fat cream |
|
Grainy texture |
Over-churned or poor straining |
Knead longer under cold water; use finer mesh |
|
Weak infusion |
Undecarbed or uneven mix |
Double-check decarb; stir midway if possible |
|
Burnt flavor |
Too high heat |
Lower temp next time; monitor closely |
|
Machine leaks |
Loose lid |
Tighten securely; check seals for wear |
If issues persist, consult the manual or contact support.
Health and Safety Considerations
Butter making is fun, but prioritize safety:
- Allergies: Dairy-based; opt for coconut oil alternatives for vegan infusions.
- Potency: Edibles hit differently. Wait 1-2 hours before redosing.
- Storage: Refrigerate infused butter; consume within 2 weeks or freeze.
- Legal Note: Ensure compliance with local cannabis laws.
Conclusion
Using a butter maker takes the guesswork out of the traditional process and makes homemade butter simple, reliable, and fun. With the right ingredients, proper preparation, and a little attention to detail, you can create smooth, flavorful butter every single time, whether you’re making a classic spread for your morning toast or experimenting with infused recipes.
The real beauty of a butter maker is its versatility. It saves time, ensures consistency, and lets you get creative with flavors, herbs, or even cannabis infusions. The options are unlimited after you’ve mastered the fundamentals.If you’ve been wondering whether a butter maker is worth it, the answer is yes, it’s an investment in flavor, convenience, and kitchen creativity. Give it a try, and you might never go back to store-bought butter again.
FAQ
Can I use salted butter in a butter maker?
Yes, you can, but unsalted butter is recommended since it gives you more control over flavor and works better for both sweet and savory recipes.
How long does homemade butter last?
Fresh homemade butter typically lasts 1–2 weeks in the refrigerator. It has a six-month shelf life if kept in the freezer.
What’s the best way to clean a butter maker?
Most butter makers can be cleaned with warm water and mild dish soap. For infused butter, ensure that you thoroughly clean the strainer and mixing parts to prevent residue buildup.
Can I make vegan butter in a butter maker?
Absolutely. Many butter makers work just as well with plant-based fats like coconut oil or cashew cream, allowing you to create dairy-free versions.
Do I need to refrigerate infused butter immediately?
Yes. Always keep infused butter in the freezer or refrigerator. To maintain its freshness, flavor, and safety for consumption.
Can I add herbs or flavors directly into the butter maker?
Yes, you can add herbs, garlic, or other flavorings during the process. Just make sure to strain out solids for a smooth texture.

